Chain wear in a dry, dusty climate
Replacing a worn chain in time is the cheapest saving in cycling. Leaving it is one of the most expensive mistakes.
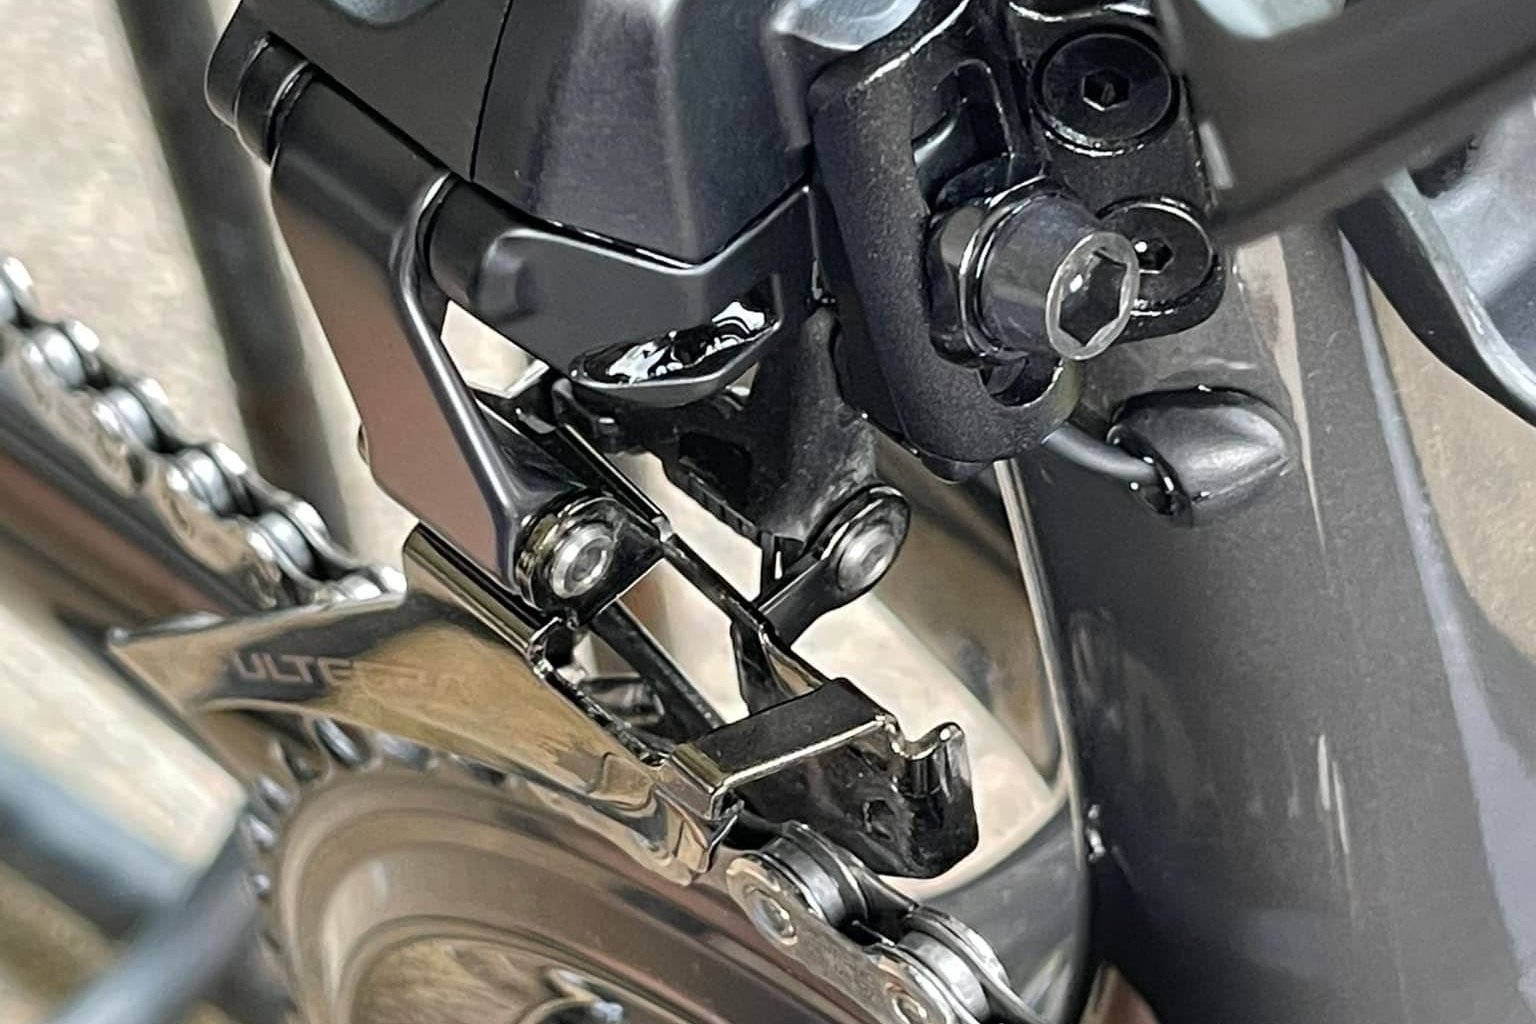
What dust does to a chain
Most chain advice is written for wet countries. This one is not.
Dust, not rust
Almost everything written about chain care assumes the enemy is water — rain, road salt, winter grit. That is not the problem where I ride.
- Dust is what wears my chain out. It works into the rollers and turns the oil into a grinding paste, which does its damage quietly and without ever looking dramatic.
- So I wash the chain and re-oil it. The two go together: a chain cleaned and left dry picks up dust immediately and runs rough, so stopping halfway through is worse than not starting.
If you ride somewhere dry and dusty, judge the chain by how gritty it feels and sounds rather than by a cleaning schedule written for wetter places. The measurement further down still tells you when it is finished.
A chain is a consumable. It wears out, it is designed to wear out, and it is far cheaper than the parts it drives. The whole point of this guide is one idea: replace the chain before it damages the cassette, and you replace only the chain.
Chains do not stretch
Riders talk about chain stretch, but the metal does not stretch. What happens is that the pins and the inside of the rollers wear against each other, so each link develops a fraction of a millimetre of play. Multiply that across 110-odd links and the chain becomes measurably longer.
That extra length matters because chain and cassette are cut to match each other exactly. A worn chain sits slightly wrong on the cassette teeth, and it begins reshaping those teeth to match its own worn spacing.
Why this is worth caring about
| You replace the chain at | What else needs replacing | Relative cost |
|---|---|---|
| 0.5% wear | Nothing | Chain only — cheapest |
| 0.75% wear | Usually nothing | Chain only |
| 1.0% wear | Often the cassette too | Several times a chain |
| Beyond 1% | Cassette, often chainrings | Approaching a full drivetrain |
A new chain on a worn cassette will usually skip under load, particularly in the gears you use most. At that point you have to replace both anyway — so the money saved by delaying was never saved at all.
How to measure chain wear
With a chain checker tool
A chain checker is an inexpensive piece of shaped metal and the easiest way to do this. Drop one end into a gap between rollers and let the other end fall. If the marked end drops fully into the chain, you have reached that level of wear.
- 0.5% — replace now on modern 11 and 12-speed drivetrains
- 0.75% — replace now on 8, 9 and 10-speed drivetrains
- 1.0% — too late; budget for a cassette as well
Narrower chains wear faster and tolerate less wear. The more sprockets at the back, the earlier you should replace. If you do not know how many speeds you have, count the sprockets on the rear wheel.
With a ruler, if you have no tool
This works and costs nothing. Bicycle chain has a half-inch pitch, so twelve full links measure exactly twelve inches when new.
Put the chain under slight tension
Shift onto the largest chainring at the front. This takes the slack out.
Line up a ruler on the chain
Put the 0 mark at the centre of one chain pin, and read along the top run of the chain.
Read at the twelfth pin
On a new chain, the centre of that pin sits at exactly 12 inches.
Interpret the gap
Up to 1/16in past the mark is fine. At 1/16in, replace the chain. At 1/8in past, expect to replace the cassette too.
How long should a chain last?
Anywhere from 1,500 to 5,000km, and the range is that wide because conditions dominate. What decides it:
- Grit — the real enemy. A dry dusty summer or a gritted winter road will halve chain life
- Lubrication — a dry chain wears fast; an over-lubricated chain collects grit and wears fast too
- Cleaning — wiping the chain after wet rides does more than any product
- Power and gear choice — grinding a big gear up hills wears a chain faster than spinning a smaller one
Measure rather than guess. Two riders with identical bikes can be 3,000km apart.
Lubricating a chain properly
The lubricant belongs inside the rollers, not on the outside of the chain. Oil on the outside does nothing except collect grit, which then grinds away the parts you were trying to protect.
Clean first
Wipe the chain thoroughly with a dry rag, backpedalling through it. A visibly dirty chain must be cleaned before lubricating or you are just making paste.
One drop per roller
Apply a single drop to each roller while backpedalling slowly. Yes, all of them. It takes about a minute.
Let it settle
Leave it a few minutes so the lubricant works into the rollers.
Wipe off everything on the outside
Firmly, with a clean rag. The chain should look almost dry. Anything left on the surface is grit-collecting dead weight.
Use wet lube for rain and winter — it stays put but attracts more dirt. Use dry lube for dry conditions — cleaner but needs reapplying more often. Never use a general household spray oil: it is too thin, it washes off, and some formulations displace the lubricant already in place.
Keep all of this away from your brakes. Chain lubricant on a rotor or rim braking surface will contaminate the pads. Cover the rear disc, or turn the bike so overspray cannot reach it.
Replacing a chain
This is a genuinely straightforward home job. You need the correct chain for your number of speeds, a chain tool or a quick link, and about fifteen minutes.
- Match the speed count exactly — an 11-speed chain will not run properly on a 9-speed drivetrain
- Match the new chain length to the old one, link for link, laid side by side
- Most modern chains join with a quick link, which needs no tool to close — just body weight on the pedal
- Some quick links are single-use; check before reusing one
If any of that sounds uncertain, a shop will fit a chain quickly and cheaply. For the wider service picture, see the maintenance guide, and the cleaning guide for the routine that makes chains last.
Three things worth remembering
Measure, do not guess
A chain checker costs less than a takeaway and tells you in five seconds what guesswork never will.
Cheap part protects expensive part
Replacing a chain on time means replacing only the chain. Leaving it means the cassette as well, and eventually the chainrings.
Wipe more, oil less
Most chain problems come from too much lubricant on the outside collecting grit, not from too little inside.
Questions people ask about chains
Every month for regular riders, or every few hundred kilometres. It takes seconds once the tool is in your kit bag.
Yes, if you caught the wear early. If the chain went well past 1% wear, a new chain will usually skip on the worn cassette and both need replacing.
Rarely. Chainrings are larger, spread the load over more teeth and typically outlast several cassettes. Suspect them only if a new chain and cassette still skip.
Some riders rotate chains to spread wear evenly across the drivetrain, and it does extend cassette life. It is a refinement, not a necessity — measuring one chain and replacing it on time achieves most of the benefit.
Wet lube is thicker, survives rain and lasts longer between applications, but attracts more dirt. Dry lube goes on thin, stays cleaner and needs reapplying more often. Pick for your weather, not your preference.
Not necessarily. Dropped chains are more often a derailleur adjustment issue or shifting under heavy load. If it happens repeatedly, check chain wear first, then have the front derailleur limits checked.
Related guides
Three more that pair naturally with this one.
Cycling in Morocco
Roads, drivers, water, heat and shops – what riding here is actually like.
Keep the whole drivetrain happy
The cleaning guide covers the routine that makes chains and cassettes last — and the mistakes that destroy bearings.