Fixing a puncture, and how often you really get one
The most useful repair there is. Fifteen minutes to learn, and it turns a ruined ride into a short stop at the roadside.
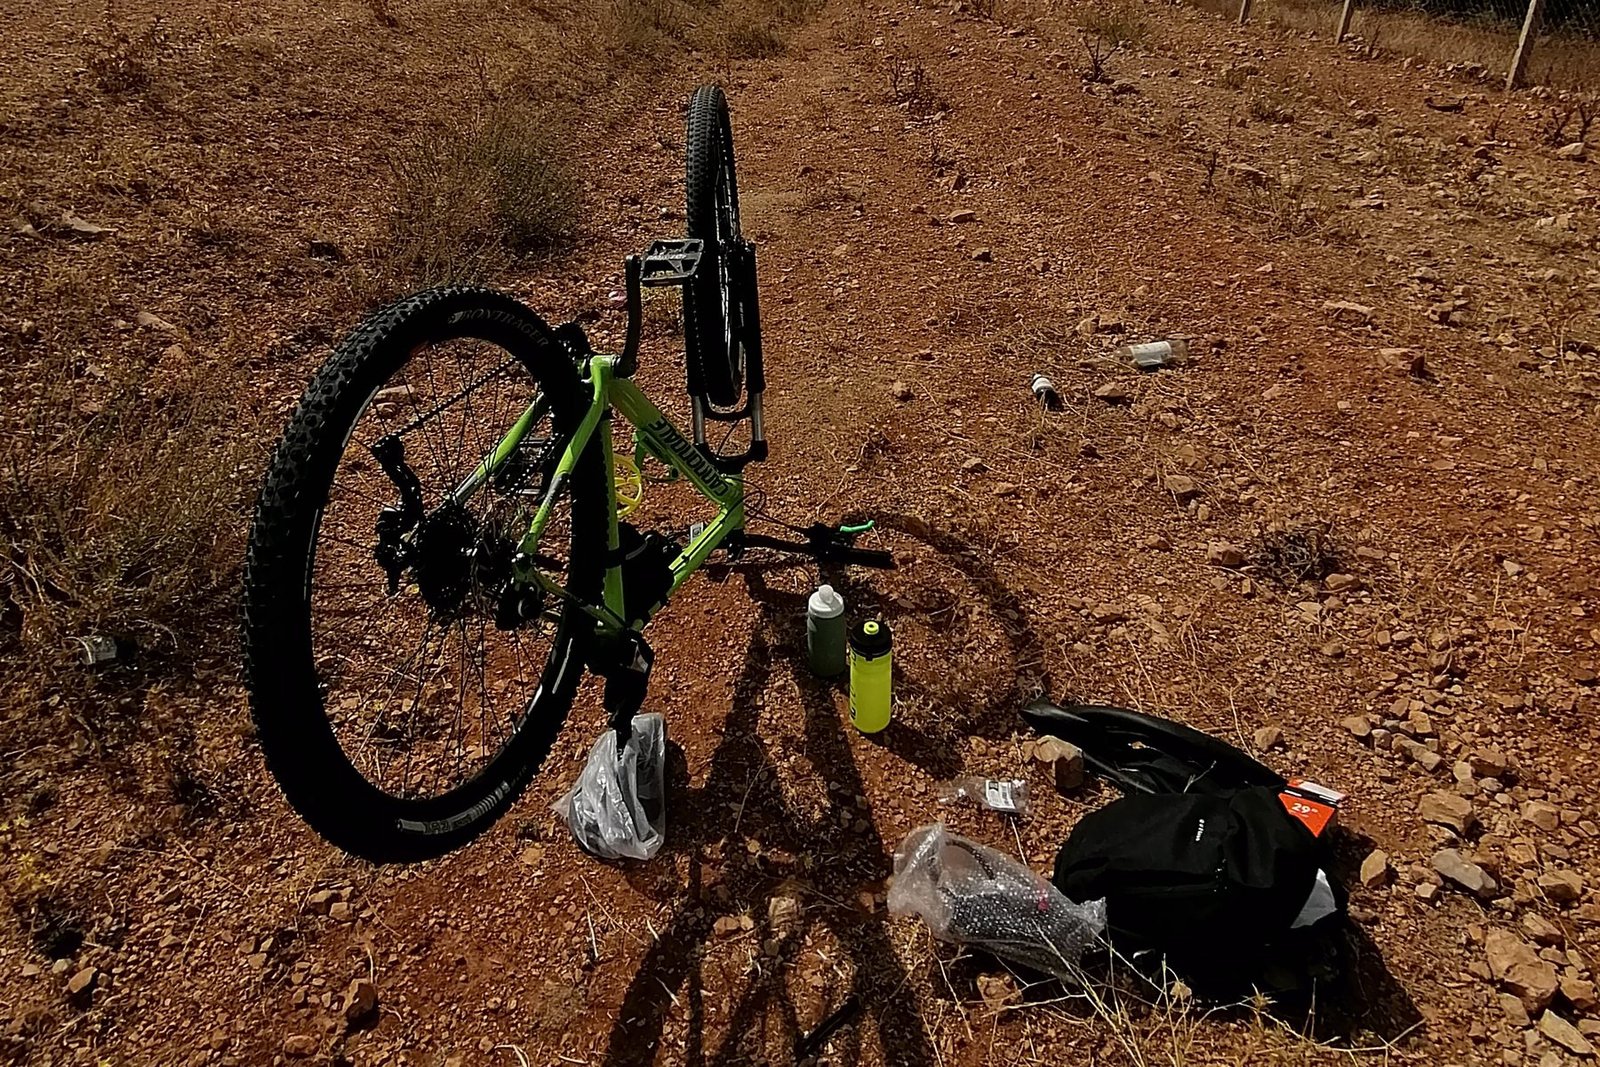
How often this actually happens
Sharp roads do not automatically mean constant punctures.
Less often than you would expect
Glass and thorns are the two things that cut tyres where I ride, so you might reasonably expect to be fixing punctures every week. That has not been my experience at all.
- About one puncture every two or three months. Not one a week, and not one a ride.
- That means one spare tube and a patch kit covers normal riding. There is no need to carry a workshop on the off chance.
- It also means the repair is worth learning properly rather than improvising. If it only happens a few times a year, you will be out of practice every single time it does.
Rough roads and sharp debris matter less than people assume. Tyre condition and running the right pressure do more to keep you rolling than the surface does to stop you.
A puncture is the one mechanical problem every rider meets. Done properly the repair takes ten minutes at the roadside, and the whole thing becomes an inconvenience rather than a phone call.
There is one step almost everyone skips, and skipping it is why people fit a new tube and puncture again within a mile. It is covered below, and it is the most important part of this guide.
What to carry
None of this is expensive, and all of it fits in a small saddlebag. A repair kit left at home has never fixed anything.
- A spare inner tube in the right size — check the sidewall of your tyre
- Two tyre levers — plastic, not metal, which damages rims
- A pump or CO2 inflator — a mini pump always works; CO2 is faster but single-use
- A patch kit as backup, for a second puncture
- A multitool if your wheels bolt on rather than using a quick release
Check your valve type before buying tubes. Presta is the narrow one with a small nut you unscrew; Schrader is the wider car-style valve. They are not interchangeable, and the wrong tube will not fit through your rim.
The repair, step by step
Get the wheel off
Shift onto the smallest sprocket first if it is the rear wheel — it gives the chain the most slack. Open the brake if it is a rim brake, then release the quick release or undo the axle.
Let out any remaining air
Press the valve until the tyre is completely flat. A tyre with air still in it fights you at every stage.
Unseat one side of the tyre
Push the bead into the deep centre channel of the rim all the way round. This is what makes the tyre loose enough to lever off, and it is why people struggle when they skip it.
Lever the tyre off
Hook one lever under the bead and clip it to a spoke. Move a hand-width along and use the second lever. From there the bead usually runs off by hand. You only need one side off.
Take out the tube
Pull it out, leaving the valve until last so you do not bend it against the rim.
FIND WHAT CAUSED IT
Run your fingers slowly around the inside of the tyre — carefully, because it is usually something sharp. Check the outside too, and the rim tape. This is the step people skip.
Fit the new tube
Put just enough air in to give it shape. A limp tube twists and gets pinched under the bead; an over-inflated one will not fit. Seat the valve first, then feed the tube into the tyre all the way round.
Get the tyre back on
Work the bead on with your thumbs, starting opposite the valve and finishing at it. Push the seated part into the centre channel as you go and the last section will usually go on without levers.
Check the bead before inflating
Go round both sides and make sure no tube is peeping out under the tyre. Inflating over a trapped tube is a bang and a wasted spare.
Inflate and refit
Pump to the pressure printed on the sidewall, check the tyre sits evenly all round, then refit the wheel and close the brake.
Step 6 is the one that matters. If the thorn, flint or piece of glass is still in the tyre, your new tube punctures in the same place, usually within a few minutes of riding. Never fit a new tube without finding the cause first.
Reading the puncture tells you the cause
| What you find | Cause | What to do about it |
|---|---|---|
| One small hole | Sharp object through the tread | Find and remove it from the tyre |
| Two holes side by side | Pinch flat — tyre squashed against the rim | Run higher pressure, or wider tyres |
| Hole on the inner face | Spoke or damaged rim tape | Replace the rim tape; file any sharp spoke ends |
| A long slit | Sidewall cut | The tyre is finished; boot it to get home, then replace it |
| Hole at the valve base | Tube moved inside the tyre, or a bad fit | Replace the tube; check the tyre is seated evenly |
| Slow, repeated flats | Something still embedded in the tyre | Search the tyre thoroughly, inside and out |
Booting a cut sidewall
If the cut is big enough for the tube to bulge through, put something between tube and tyre to bridge it — a folded banknote, an energy bar wrapper or a proper tyre boot. Inflate slightly softer than usual and ride gently home. It is a get-home fix, not a repair: the tyre needs replacing.
Patch or replace?
At the roadside, fit the spare tube. It is faster, and you can patch the punctured one at home in comfort.
Patching properly works and lasts for years: find the hole, roughen the area with the sandpaper in the kit, apply a thin layer of glue, wait until it is touch-dry, then press the patch on firmly for a minute. The commonest mistake is not waiting for the glue.
Glueless patches are convenient and fine as a temporary fix, but they are less reliable long term.
A note on tubeless
Tubeless tyres carry liquid sealant instead of a tube, and most small punctures seal themselves before you notice. When one does not, you can plug it with a tubeless repair kit, or fit a normal inner tube to get home — which is why carrying a spare tube still makes sense even on tubeless wheels.
Getting fewer punctures
- Keep your pressure right — soft tyres cause pinch flats, and it is the most common avoidable cause
- Check your tyres weekly — pick out embedded flints before they work through
- Replace worn tyres — once the tread is thin, punctures multiply
- Consider puncture-resistant tyres for commuting — heavier and slower, and worth it if you ride in traffic
- Avoid the gutter — debris collects at the edge of the road
Pressure is covered in detail in the tyres and pressure guide, and the wider service routine is in the maintenance guide.
Three things that matter most
Find the cause first
The single step that separates a fixed puncture from a repeat one a mile down the road. Run your fingers inside the tyre, every time.
Carry the kit, always
Two levers, a spare tube and a pump. It fits under the saddle and it is the difference between a ten-minute stop and a lift home.
Pressure prevents most of them
Pinch flats are the most common puncture and the easiest to avoid. Check pressure weekly, not when it looks flat.
Questions people ask about punctures
Ten minutes once you have done a few. The first time, allow half an hour and practise at home rather than learning at the roadside in the rain.
Replace at the roadside, patch at home. A properly glued patch lasts for years, so there is no need to throw a tube away for one small hole.
Almost always because whatever caused the first puncture is still in the tyre. Take the tyre off again and search it thoroughly, inside and out.
Only far enough to get off the road safely. Riding on a flat destroys the tyre, can damage the rim, and handling becomes unpredictable.
Nothing is puncture-proof, but puncture-resistant tyres genuinely reduce them. They are heavier and a little slower, which matters less on a commute than being late for work.
It is much easier with the wheel off. On a rear wheel it is worth learning the routine — shift to the smallest sprocket first and it drops out easily.
Related guides
Three more that pair naturally with this one.

Cycling in Morocco
Roads, drivers, water, heat and shops – what riding here is actually like.
Fewer punctures start with pressure
The tyres guide covers widths, pressures and when a tyre is worn out — the three things that decide how often this happens.