Brakes, and what a long descent asks of them
Brakes are the one part of a bike where getting it wrong has consequences. They are also simpler than they look.
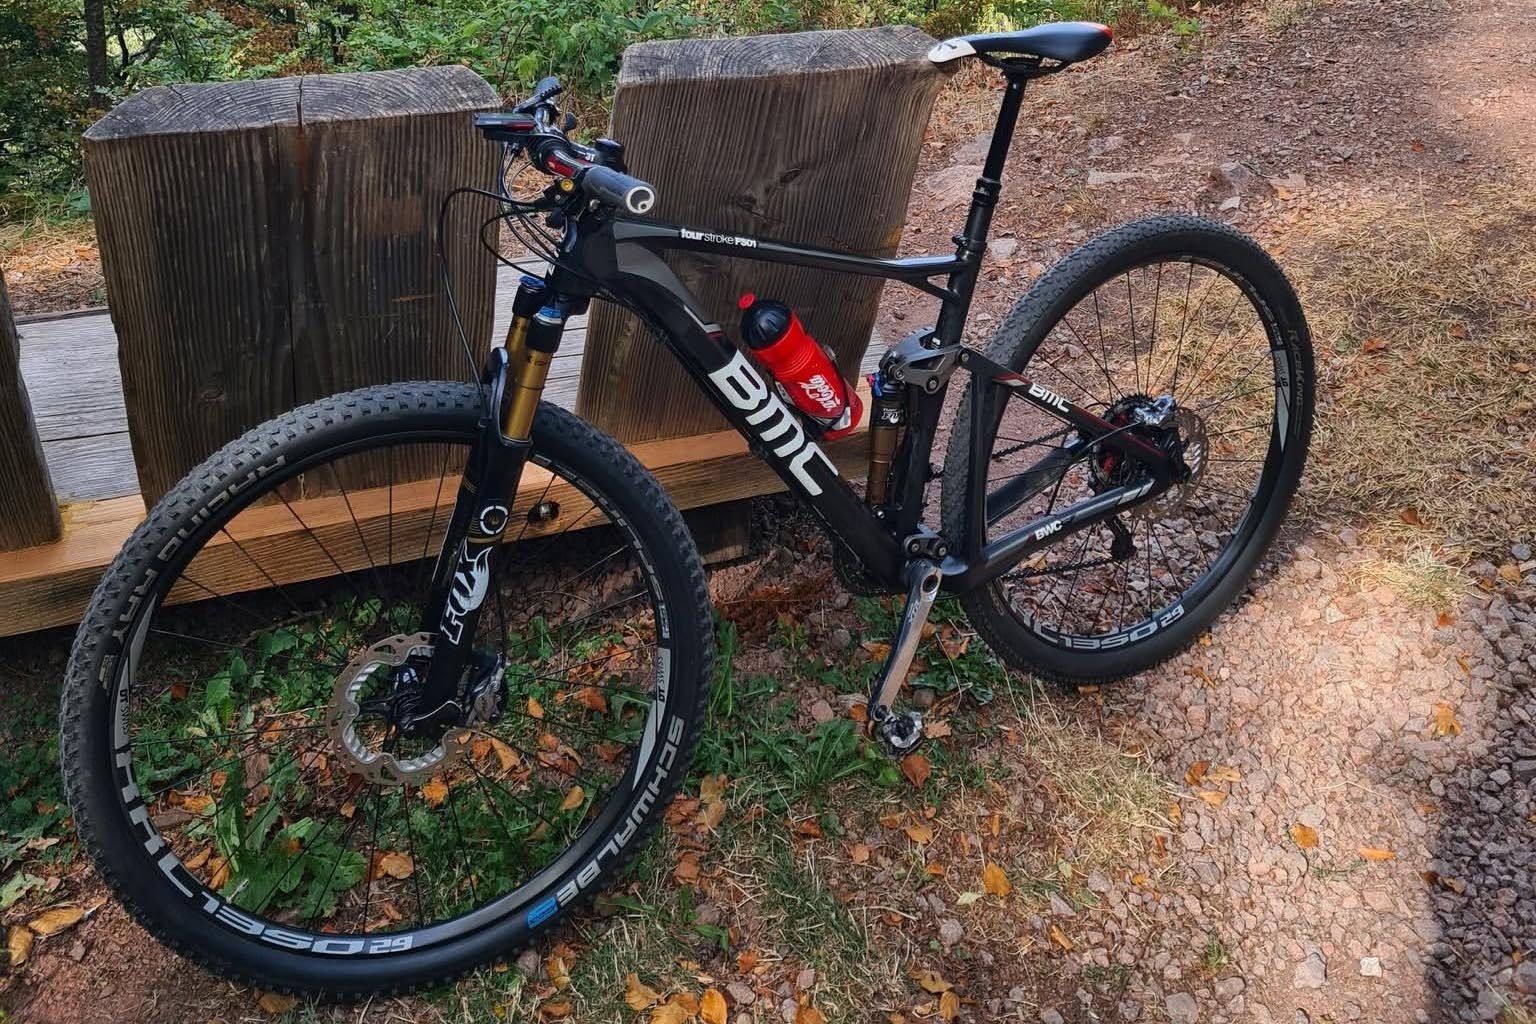
What I do about my own brakes
One part of the bike where I do not improvise.
Hydraulic discs, serviced once a year
The guide below covers the types and how they differ. Here is the one maintenance decision I make without arguing with myself about it.
- I run hydraulic disc brakes - the kind with oil in the line rather than a cable.
- I have them serviced once a year. Not because something has gone wrong, but because brakes are the part where I would rather not find out that something has.
- Everything else on a bike gives you warning. A chain gets noisy, a tyre goes soft, gears start hesitating. Brakes are the component where the first clear symptom can arrive at the worst moment.
If you ride long descents, this is the part of the bike worth being fussy about. An annual service costs little against the one occasion you need everything working properly.
Most riders learn their brakes only when something goes wrong — a squeal that will not stop, a lever that pulls to the bar, a rub that appears after a wheel change. All three are ordinary problems with ordinary fixes.
This guide covers what type you have, how to tell when pads need replacing, and the adjustments worth doing yourself. It also covers the small number of things you should not attempt at home.
Which brakes do you have?
Look at where the braking happens. If pads squeeze the outer edge of the wheel rim, you have rim brakes. If a small metal disc sits at the centre of the wheel with a caliper gripping it, you have disc brakes.
| Type | Found on | Strengths | Weaknesses |
|---|---|---|---|
| Caliper rim | Road bikes | Light, cheap, easy to service | Poor in wet, wears the rim |
| V-brake | Hybrids, older MTBs | Powerful for a rim brake, very cheap parts | Fiddly to centre, poor in wet |
| Mechanical disc | Budget hybrids and gravel | Cable-operated, easy to adjust at home | Less power than hydraulic |
| Hydraulic disc | Most modern bikes | Strongest, best in wet, self-adjusting | Needs bleeding occasionally |
Disc brakes have become standard because they work in the rain. A wet rim brake can take a full wheel revolution to clear water off the braking surface before it bites. A disc barely notices.
How to tell when pads are worn out
This is the single most useful check in this guide, and it takes under a minute per wheel.
Rim brake pads
Rim pads have grooves moulded into the rubber. Those grooves are the wear indicator: when they disappear, the pad is finished. Some pads also carry a moulded line. If you can no longer see either, replace them.
Disc brake pads
Disc pads are a thin layer of friction material bonded to a metal backing plate. Look into the caliper from above with a torch. You are measuring the pad material only, not the backing.
- Over 2mm of material — plenty left, ride on
- Around 1mm — order replacements now
- Under 0.5mm, or metal visible — stop riding and replace immediately
Running pads to the metal destroys the rotor. A set of pads is inexpensive. A rotor plus pads is several times that, and the ruined rotor will chew through the next set of pads too. This is the most expensive mistake in bike maintenance, and it is entirely avoidable with a torch and a minute of attention.
The four problems people actually have
| Symptom | Most likely cause | Fix |
|---|---|---|
| Lever pulls close to the bar | Cable stretch or worn pads | Wind out the barrel adjuster; replace pads |
| Constant rubbing noise | Wheel not seated, or caliper off-centre | Reseat the wheel first, then centre the caliper |
| Loud squeal under braking | Contamination, or glazed pads | Clean the rotor or rim; sand the pad surface lightly |
| Brake feels spongy | Air in a hydraulic system | Needs bleeding — a shop job unless you have the kit |
| Bike pulls to one side | One pad contacting before the other | Centre the caliper |
Adjustments worth doing yourself
Taking up slack with the barrel adjuster
Both cable-operated rim and mechanical disc brakes have a small knurled barrel where the cable enters the lever or caliper. Turning it anticlockwise — winding it out — tightens the brake and brings the lever bite point closer.
Wind the barrel out a quarter turn
Squeeze the lever and check the bite point. Repeat until the lever stops around halfway to the bar.
Check the wheel spins free
Spin it. There should be no rub. If there is, you have gone too far — wind back slightly.
If you run out of adjustment
The barrel is nearly all the way out. Wind it fully back in, undo the cable pinch bolt, pull a few millimetres of cable through, and retighten. Then fine-tune with the barrel again.
Centring a disc caliper
If a disc rubs constantly, the caliper is usually just slightly off-centre. Loosen the two bolts holding the caliper to the frame by about half a turn, squeeze the brake lever hard and hold it, then retighten both bolts while still holding. The caliper self-aligns around the rotor.
Always reseat the wheel first. A rub that appears immediately after removing a wheel is usually the wheel sitting crooked in the dropouts, not the brake. Undo the quick release or axle, let the wheel drop fully into place, and retighten with the bike on the ground.
Bedding in new pads
New pads do not work properly out of the box. They need a thin, even layer of pad material transferred onto the braking surface — a process called bedding in. Skipping it is why new brakes sometimes feel worse than the old ones.
Find a quiet, flat stretch of road. Accelerate to a moderate speed, then brake firmly down to walking pace without fully stopping. Repeat around ten times, letting the brakes cool between efforts. The bite will noticeably sharpen.
The one rule that matters most
Keep oil away from braking surfaces. Any oil — chain lube, degreaser overspray, furniture polish, the natural grease on your fingers — will contaminate a pad, and a contaminated pad squeals, loses most of its power, and usually cannot be recovered.
- Never spray lubricant near a rotor or rim brake track
- Never touch a rotor or new pad surface with bare fingers
- Never degrease a bike without covering the discs first
- Never leave a bike upside down with hydraulic brakes for long — it can move air into the lever
If a rotor does get contaminated, clean it with isopropyl alcohol and a clean rag. Contaminated pads usually need replacing — some people recover them by sanding the surface, and it sometimes works.
What to leave to a shop
Almost everything above is home-mechanic territory. Two things are not:
- Bleeding hydraulic brakes — needs a brand-specific kit and the correct fluid. Mineral oil and DOT fluid are not interchangeable and mixing them destroys the seals
- Anything you are unsure about — brakes are the wrong place to find out you were wrong
For the wider maintenance picture, see the fixing and maintenance guide. If your brake problems started after a wet winter, the winter riding guide covers the salt damage that accelerates pad wear.
Three habits that prevent most brake problems
Check pads monthly
A torch and thirty seconds per wheel. Catching a pad at 1mm rather than 0mm is the difference between a cheap job and an expensive one.
Keep oil away from everything
The most common cause of squealing brakes is contamination, and it is almost always self-inflicted during chain lubrication.
Bed in every new set
Ten firm slowdowns from moderate speed. New pads feel disappointing until you do this, and excellent afterwards.
Questions people ask about brakes
By wear, not by time. Rim pads often last a few thousand kilometres in dry conditions and a few hundred in a wet winter. Disc pads vary just as widely. Check them monthly and replace when the wear indicator disappears or disc pad material drops near 1mm.
A small amount of noise in the wet is normal, particularly with rim brakes, as water and road grit sit between pad and rim. Persistent squealing in the dry usually means contamination or glazed pads.
Generally no. The frame and fork need mounting points for the calipers, and the wheels need hubs designed to carry a rotor. On a bike without those, conversion costs more than the bike is usually worth.
Yes — treat it as unrideable. On a cable brake it is usually worn pads or a stretched cable, both easily fixed. On a hydraulic brake it usually means air in the system, which needs bleeding before the bike is used again.
Usually yes, but not dramatically. Better compounds bite harder, last longer and behave more consistently when hot. The bigger gain for most riders is simply replacing worn pads promptly.
Varies by country and shop. Pad replacement is a quick job; a full hydraulic bleed takes longer. Ask for a quote before agreeing, and ask them to show you the worn parts.
Related guides
Three more that pair naturally with this one.
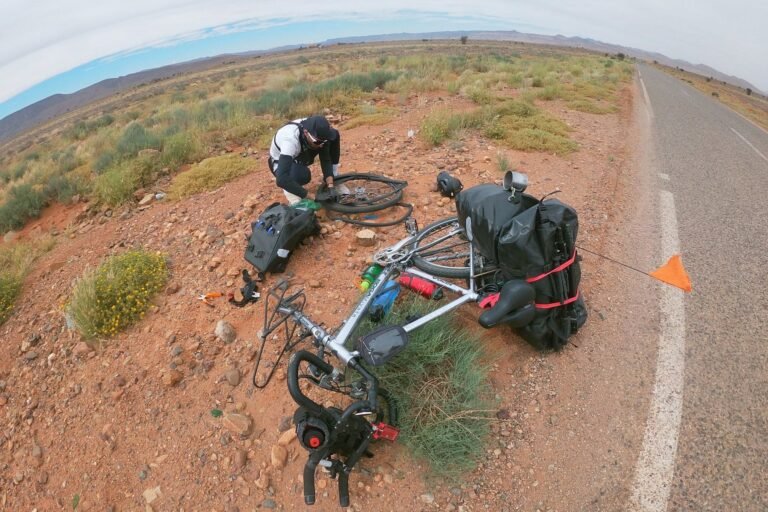

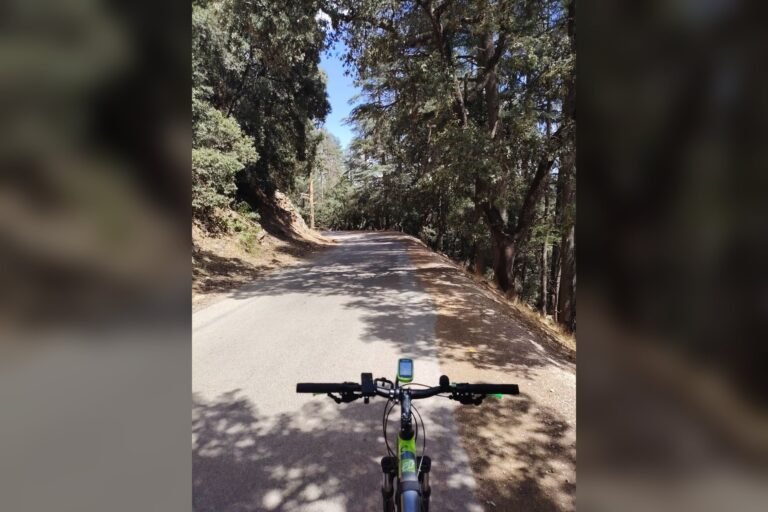
Meknes to Ifrane
A long climb into the Middle Atlas, through the cedar forest at Ras El Ma.
Keeping the rest of the bike right
The full maintenance guide covers punctures, gears, the M-check and a service schedule that works.