Fix it yourself
Most bike problems are simpler than they look. These are the repairs worth learning first — the ones that will otherwise strand you, cost you money, or quietly wear out expensive parts.
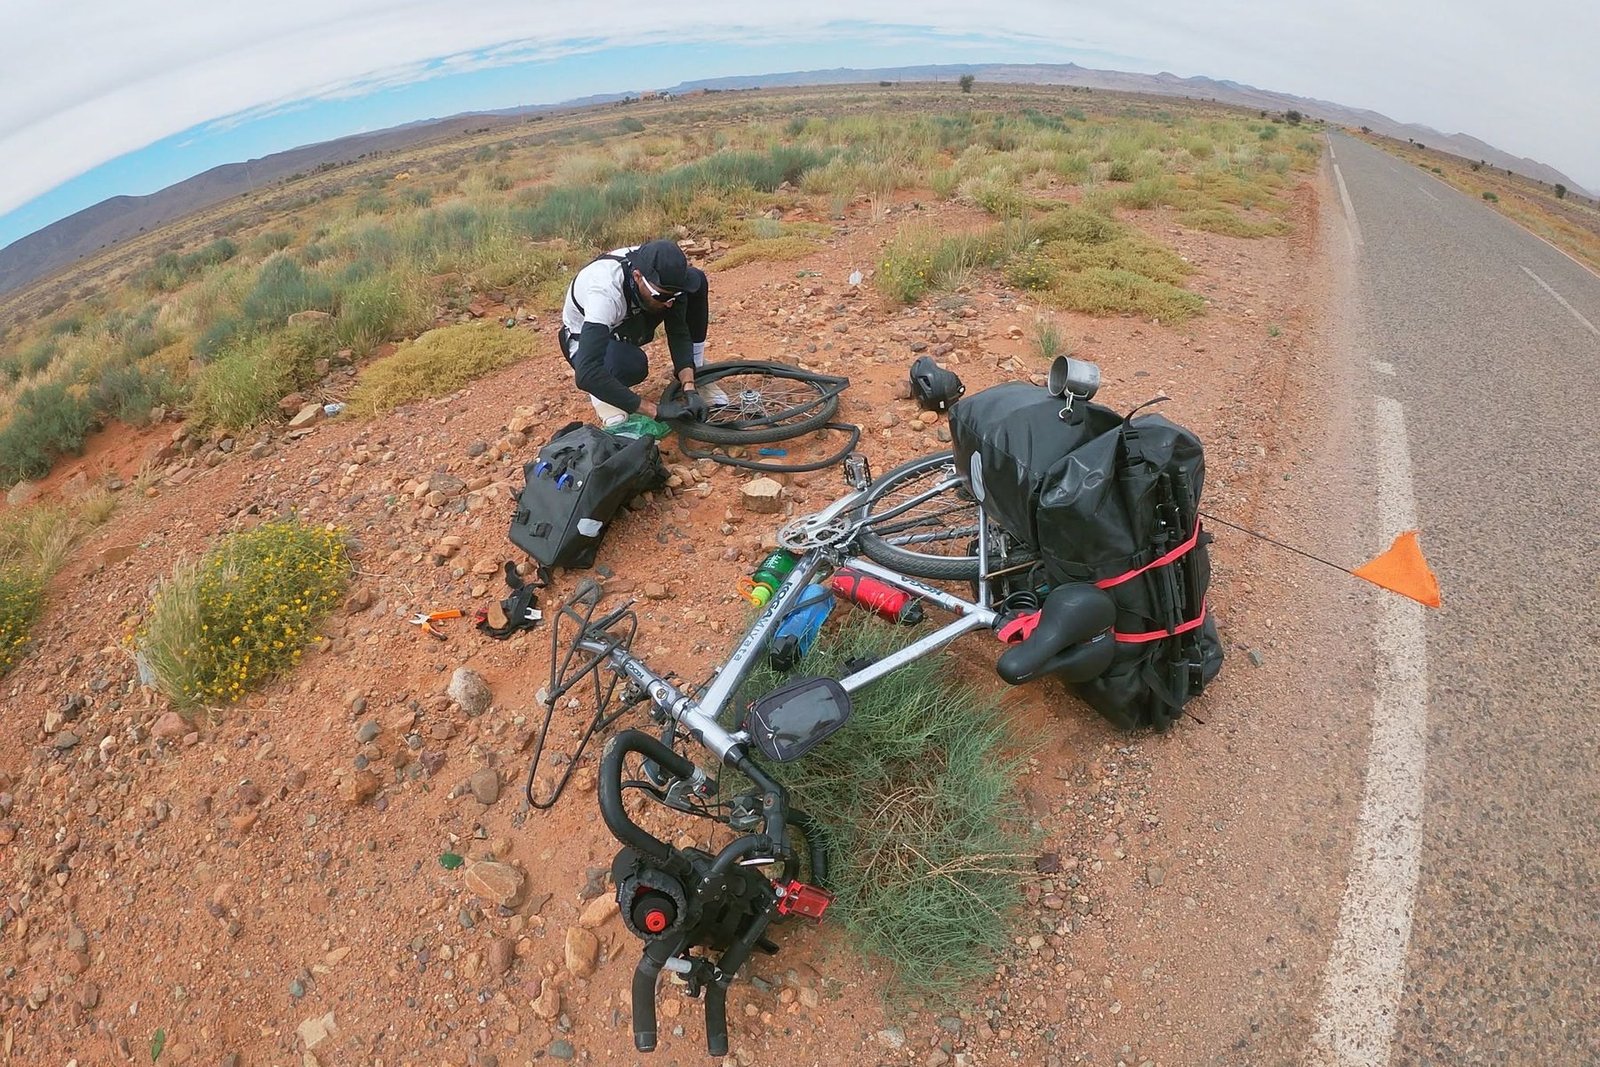
Maintenance in dust, heat and thorns
The jobs are universal. Which ones you do often is not.
What this climate actually does to a bike
Most maintenance advice is written for wet countries, where the enemies are rain, road salt and rust. Riding around Fes and Meknes, none of those are my problem. These are.
- Dust is what wears my chain out. It works into the rollers and turns the oil into a grinding paste, so I wash the chain and re-oil it after rides through dust and sand rather than on a fixed weekly schedule.
- Glass and thorns are what finish tyres, not mileage. They are cuts rather than wear, and a thorn can leave almost no mark on the outside of the tyre.
- Punctures are less frequent than you would expect from that - about one every two or three months - so one spare tube and a patch kit covers normal riding.
- Consumables are easy to buy locally. Anything specific means ordering online and waiting, which is why a spare chain and a spare set of pads sit in the house before they are needed.
- Brakes get a full service once a year, whatever else is going on. It is the one part where I would rather not find out that something has gone wrong.
Everything below is the general repair knowledge that sits underneath those habits.
Read this before you start. A bicycle is a vehicle, and brakes, forks, frames and steering are safety-critical. These guides are written for home mechanics with basic tools, but if a repair involves any of those parts and you aren’t confident the result is sound, have a qualified mechanic check it before you ride.
Brake and gear adjustment
Both systems work the same way: a cable pulls against a spring. Almost every adjustment is about controlling tension in that cable.
Brakes: the three adjustments
Lever feel. If the lever comes close to the bar before biting, the cable is too slack. Turn the barrel adjuster anticlockwise to take up slack.
Pad position. Rim pads should hit the braking surface squarely, fully on the rim, never touching the tyre — a pad rubbing the sidewall will wear through it.
Centring. If one pad drags, the brake is off-centre. Most calipers have a small side screw to balance spring tension. Adjust in quarter turns.
- Replace pads once the grooves have worn away
- Disc rotors must stay clean — never touch them with bare fingers
- New cables stretch; expect to re-adjust after a few rides
Gears: the same principle
Slow to shift into a bigger sprocket? Cable tension is too low. Turn the barrel adjuster anticlockwise, a quarter turn at a time.
Slow to shift down, or overshooting? Too much tension. Turn the same adjuster clockwise, again in quarter turns.
Chain falling off either end? That’s the limit screws, marked H and L. Adjust only with the chain off that extreme end, in small increments.
If nothing helps, check the derailleur hanger. A bent hanger makes clean shifting impossible no matter how well you adjust the cable, and it bends easily if the bike falls over.
The M-check
A standard pre-ride inspection used by cycling instructors. You trace an M over the bike — front wheel, up to the bars, down to the pedals, up to the saddle, down to the rear wheel — checking each point as you pass it. Ninety seconds, and it catches nearly everything that would end a ride early.
Front wheel
Spin it. Check tyre pressure and condition, that the quick-release or nuts are tight, and that there’s no side-to-side play at the hub.
Up to the handlebars
Check the front brake bites firmly. Hold it and rock the bike — a clunk means a loose headset. Confirm the bars don’t rotate independently of the wheel.
Down to the pedals
Both pedals should spin freely and neither should be loose on the crank. Rock the cranks sideways: movement means the bottom bracket needs attention.
Up to the saddle
Saddle level and firm, seatpost clamped tight and inserted past its minimum-insertion mark.
Down to the rear wheel
Pressure, security, no play. Check the rear brake, then that the chain is clean, lubricated and free of stiff links.
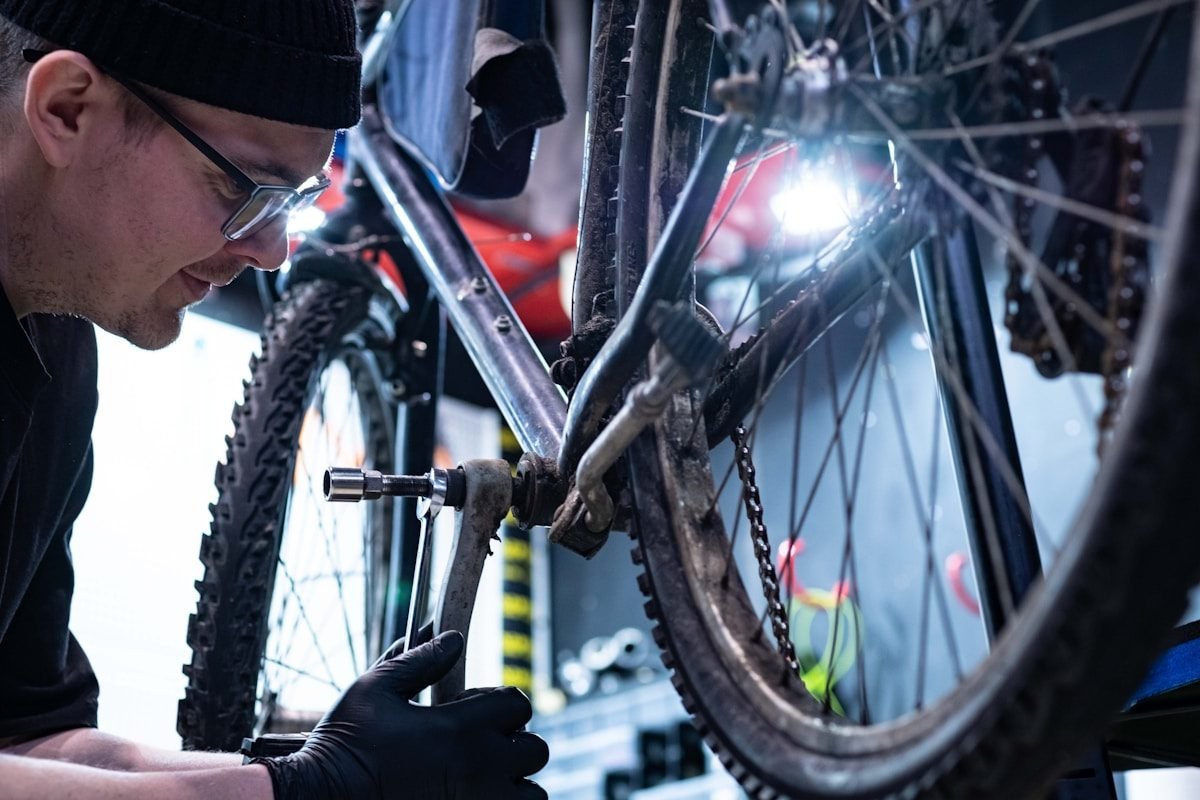
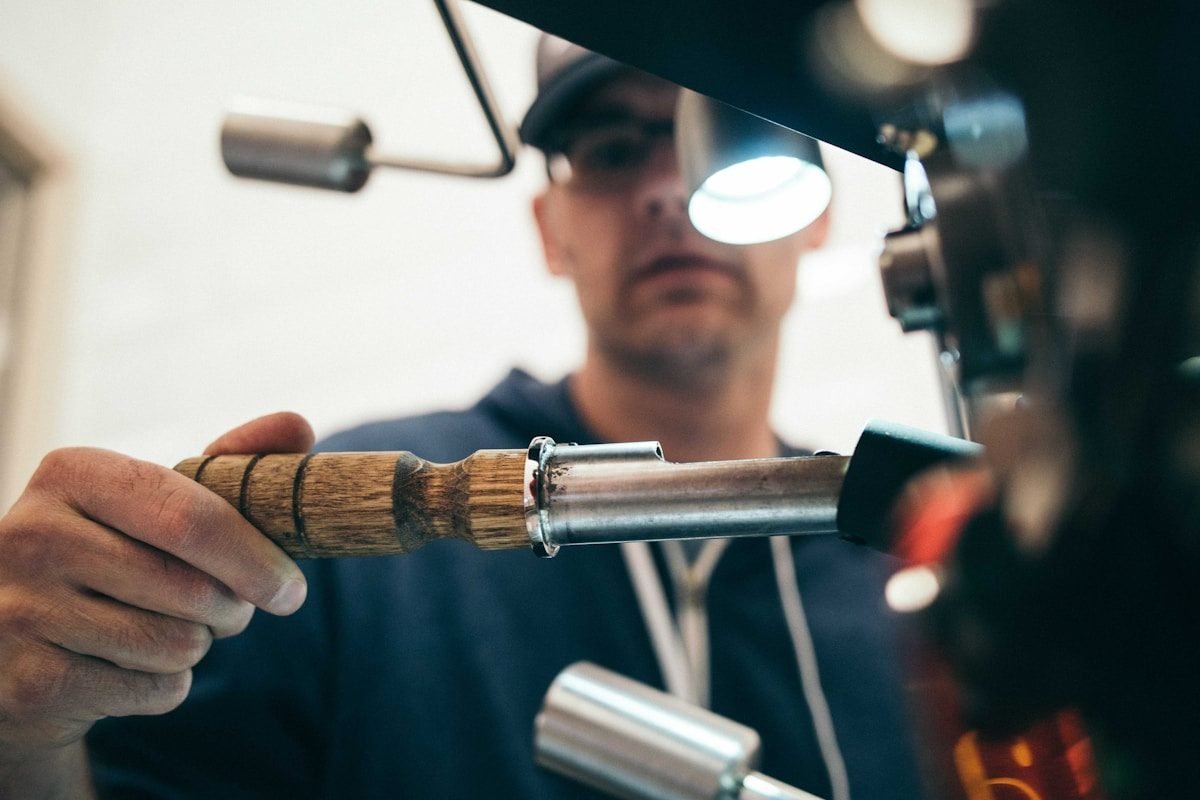
The tools actually worth owning
You can do the great majority of home bike maintenance with a small, cheap set of tools. Buy these first and add specialist items only when a job demands one.
- A set of hex (Allen) keys, 2–8mm — covers most bolts on a modern bike
- Two or three tyre levers, a patch kit and a spare tube
- A floor pump with a built-in pressure gauge
- Chain lubricant suited to your weather, plus degreaser
- A chain wear indicator — cheap, and it tells you exactly when to replace
- A torque wrench, essential the moment you own carbon parts
A maintenance schedule that works
Bikes fail gradually, then suddenly. This is the rhythm that stops small wear becoming an expensive replacement.
| How often | What to do | Why it matters |
|---|---|---|
| Every ride | M-check; confirm tyre pressure by squeezing | Catches loose bolts and soft tyres before they become a problem |
| Weekly | Wipe and re-lubricate the chain; check pressure with a gauge | A dirty chain grinds away the cassette and chainrings |
| Monthly | Clean the drivetrain; check brake pad and chain wear | Replacing a chain in time saves replacing the whole drivetrain |
| Every 3 months | Check spoke tension and wheel trueness; inspect tyres | A wheel caught early is trued in minutes rather than rebuilt |
| Every 6 months | Replace brake and gear cables if shifting feels sluggish | Cables corrode internally where you can’t see it |
| Annually | Service or replace bearings: headset, hubs, bottom bracket | Bearings run dry silently, then fail in a way that damages neighbours |
| After winter | Full strip and clean; inspect frame for corrosion | Road salt keeps corroding long after the roads are dry |
Common maintenance questions
Use a chain wear indicator. Replace at 0.5% wear to protect the cassette, 0.75% at the latest. Past 1% the chain has almost certainly worn the cassette to match and you’ll need both. A chain caught in time is one of the cheapest parts on the bike.
The range is printed on the sidewall. Heavier riders and smoother surfaces suit the higher end; lighter riders and rough surfaces the lower end. Slightly under-inflated grips better than fully hard, which is a common mistake.
Wet lube for rain and winter, dry lube for summer and dust. The choice matters far less than applying it correctly: one drop per link, let it soak in, then wipe all the excess off. Lubricant on the outside only collects grit.
Standard WD-40 is a water displacer and solvent, not a lubricant — it strips existing lubricant and leaves the chain drier than before. Useful for cleaning, but always follow with a proper chain lube.
For rim brakes, usually the pads are hitting flat rather than slightly toed-in, or the rim is dirty. For disc brakes it’s often contamination — clean the rotor with isopropyl alcohol; contaminated pads generally need replacing.
Any suspected frame or fork damage, hydraulic brake bleeding without the kit, wheel building, and internal cable routing. Also anything where you’ve tried twice and it’s got worse.
Related guides
Three more that pair naturally with this one.
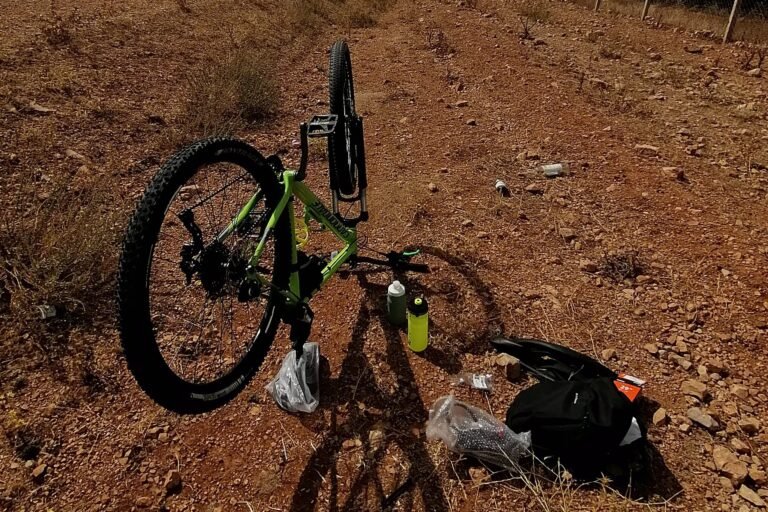
A well-maintained bike still needs a confident rider
The skills guide covers road positioning, junctions, and riding safely in traffic and after dark.